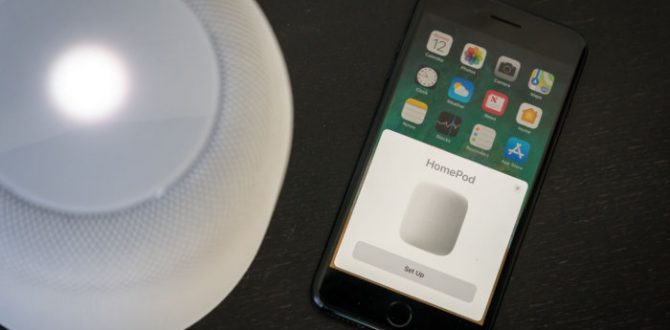
Compared to most smart speakers, getting started with the HomePod is especially easy. There are no extra apps to install, no calibration steps to undertake.
Before you get started, you’ll want to make sure you meet the requirements: the HomePod requires an iPhone (5s or newer) or iPad (mini 2 or Air or newer) to complete the setup process. A 6th generation iPod touch will work, too.
Preparing for setup
1. Make sure your iOS device is running iOS 11.2.5 or newer.
2. Your HomePod will be attached to your iCloud account, so you should make sure that is set up, too (and turn on two-factor authentication).
Setting up HomePod
1. Plug in HomePod and wait for the light on top to glow.
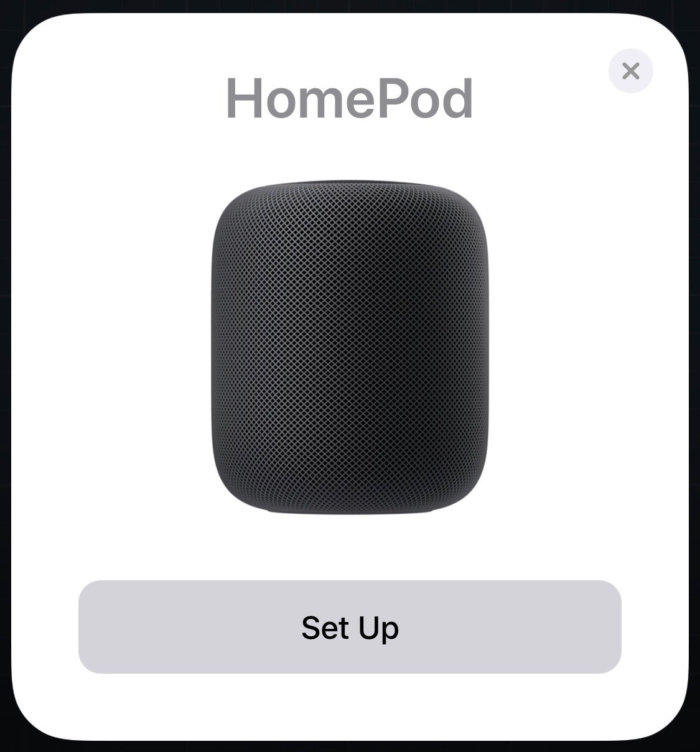
2. Bring your iOS setup device (iPhone or iPad) near the HomePod. You’ll see a small window pop up near the bottom of the screen, with an image of the HomePod. It’s similar to the setup for AirPods or the latest Apple TV.
3. Tap Set Up
 IDG
IDGSetting up HomePod is a breeze. No passwords required!
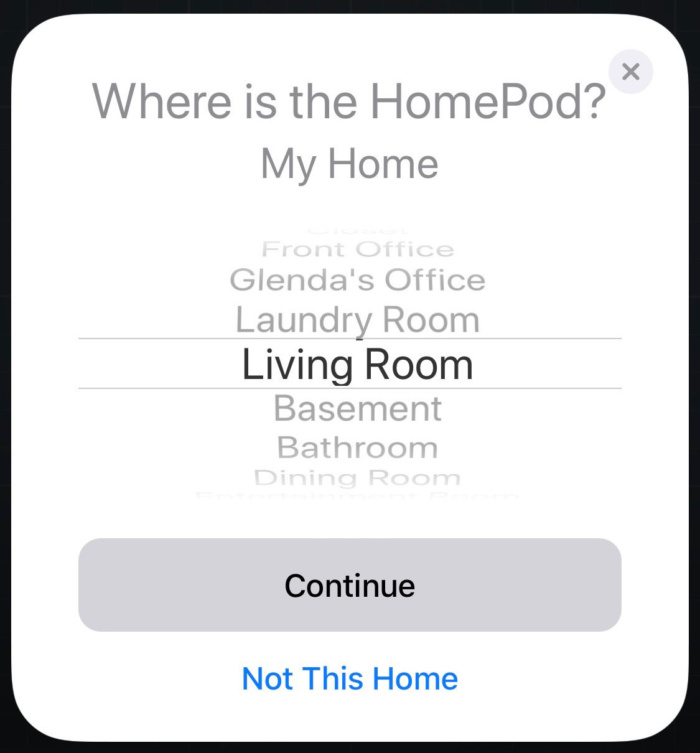
4. You’ll be asked what room the HomePod is in. Pick one.
 IDG
IDGChoosing a room helps HomePod work correctly with HomeKit smart home products, but doesn’t affect how it sounds.
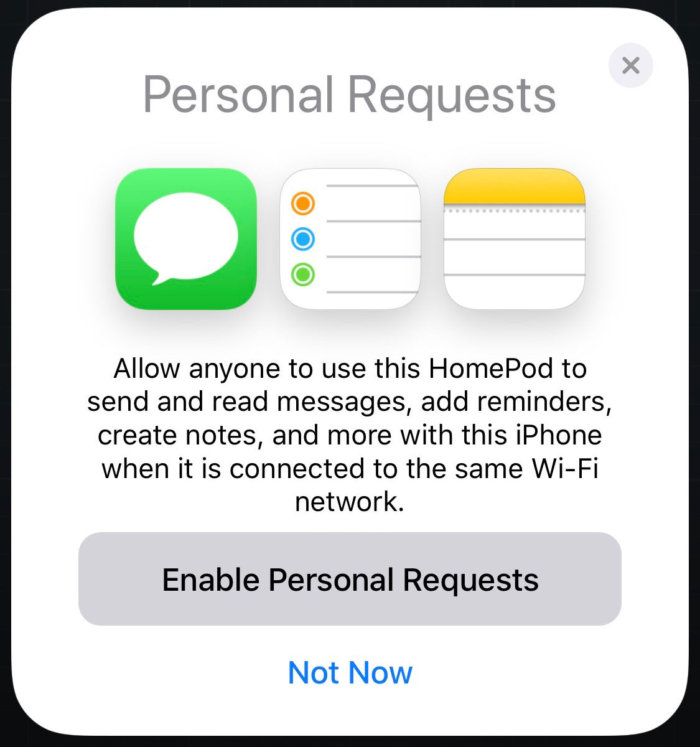
5. The next screen asks you whether to enable Personal Requests or not. Enabling this will allow HomePod to access your account’s reminders, messages, notes, and calendar appointments. You should consider not enabling this right now; see the next section for more details.
 IDG
IDGUntil Apple supports multiple voice detection, you should consider tapping “Not Now.”
6. The Terms and Conditions screen will pop up. Read them (or don’t) and agree to continue.
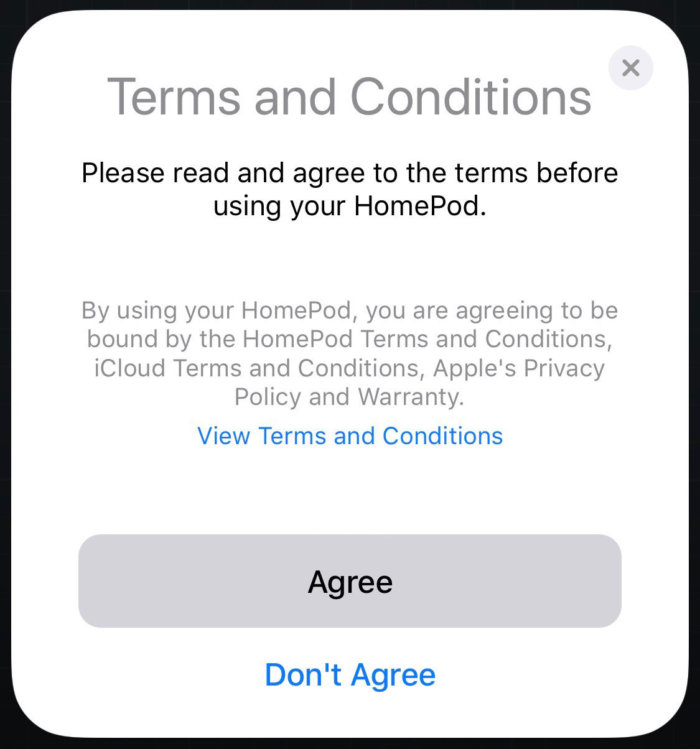 IDG
IDGDo you read Terms and Conditions?
7. Finally, a screen will pop up prompting you to transfer settings from your iOS device to your HomePod. This will transfer over the necessary iCloud account info, Wi-Fi password, and so on.
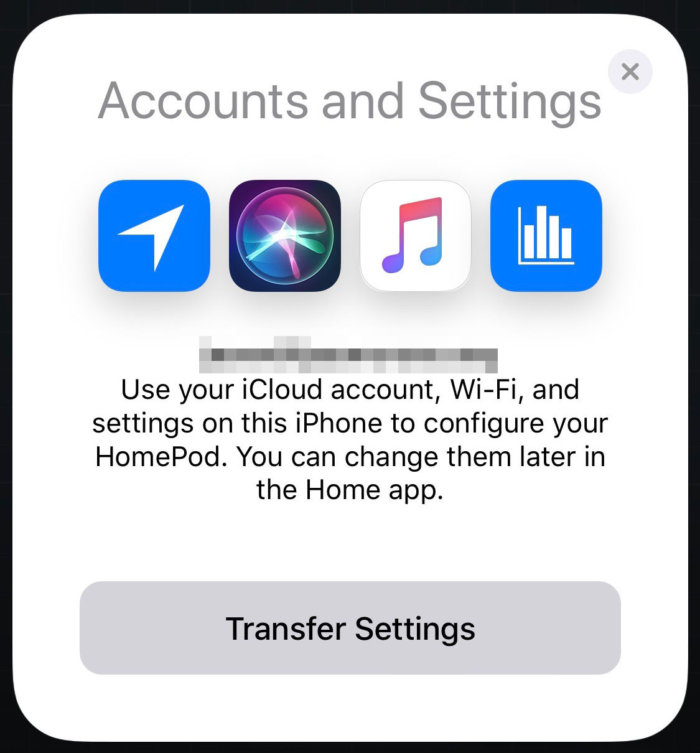 IDG
IDGWi-Fi settings, account info, and everything else are automatically transferred right from your iPhone.
8. That’s it! You’ll be prompted to go through a couple of example Siri questions, but your HomePod is now set up.
Disabling Personal Requests
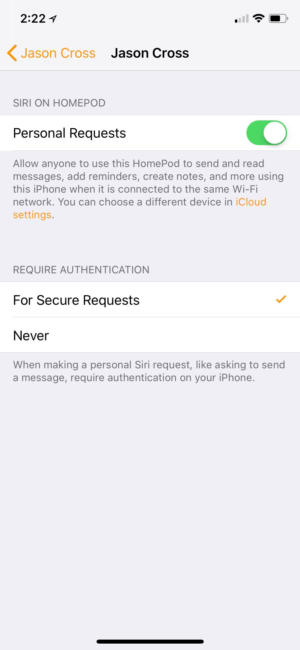 IDG
IDGIf you enabled Personal Requests during setup, you can disable it later in the Home app.
HomePod cannot yet distinguish between different voices. Literally anyone can walk up to it and command it. If you have Personal Requests turned on, that includes setting reminders, sending messages, or adding notes for whichever iCloud account was on the iPhone or iPad used in setup.
The HomePod is supposed to use your phone’s location to determine when you are not home, but it’s still a huge security and privacy risk to leave this enabled while other people are around.
Unless you live alone and never have guests over, we strongly recommend turning off Personal Requests until the HomePod gets a software update that lets it distinguish between your voice and others.
If you turned this on during setup, you can easily disable it in the Home app. Just follow these steps.
1. Open the Home app.
2. Tap on the location button in the upper left. It looks like an arrowhead.
3. You’ll see the name for your home and some other settings. Tap on your profile picture in the People section.
4. You’ll see a Siri on HomePod section, with one entry: Personal Requests. Tap that.
5. You’ll see a toggle at the top to turn Personal Requests on or off, and a setting to require authentication on your iPhone or iPad for secure requests (like sending a message).
This story, “How to set up HomePod” was originally published by
Macworld.
